Print Settings 101: What Do All These Numbers Actually Mean?
- M Aerospace RTC
- Aug 8, 2025
- 2 min read

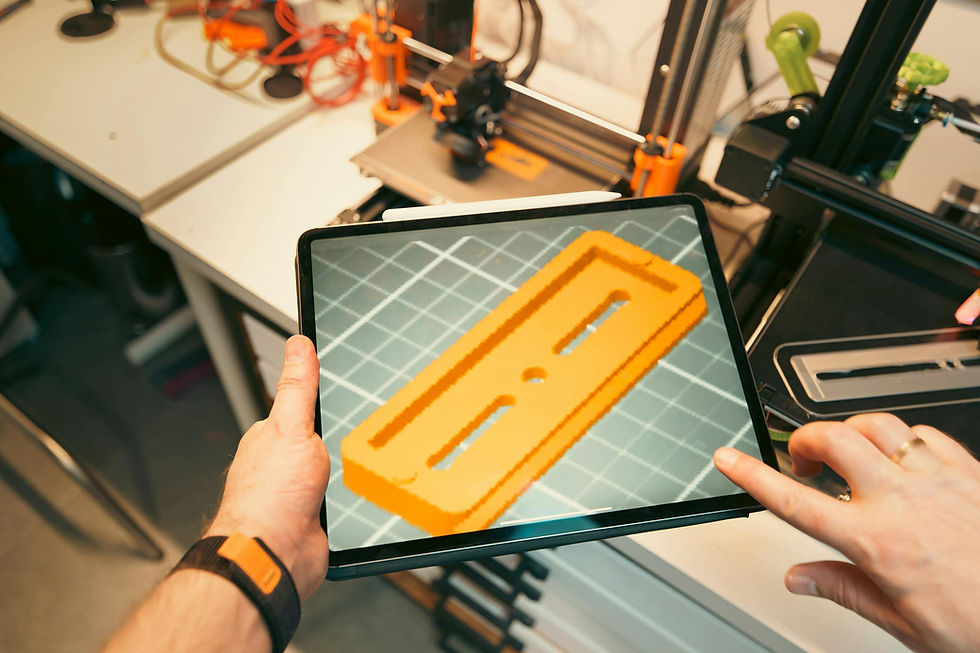
If you’re new to 3D printing, staring at all the numbers and options in your slicer software can feel overwhelming. But don’t worry—understanding 3D print settings explained in simple terms will help you get better prints faster. Whether you’re just starting last week or looking to fine-tune your results, this beginner-friendly guide covers key settings like layer height, shell thickness, infill percentage, and retraction—all essential for mastering your printer.
What Is Layer Height and Why It Matters
3D printing layer height refers to the thickness of each layer your printer lays down. Smaller layer heights (like 0.1 mm) give smoother surfaces and finer details, but take longer to print. Larger layer heights speed up your print but can reduce detail. Finding the right balance between speed and quality is key—this is often called print quality vs speed. For beginners, a 0.2 mm layer height is usually a great starting point.
Understanding Shell Thickness
3D printing shell thickness controls the thickness of the outer walls of your print. Thicker shells make parts stronger and more durable, but use more filament and take longer to print. Ideal shell settings for 3D print strength often range from 1 to 3 shell layers. Thicker shells also enhance the appearance of your print by concealing the infill within.
What Is Infill Percentage and Which Pattern to Choose
What is infill percentage? It’s the amount of material inside your print, expressed as a percentage. Low infill (10-20%) saves material and prints faster, but may result in a less sturdy product. Higher infill (50% or more) strengthens your part but increases print time and filament use. Infill types and patterns, such as honeycomb, grid, or gyroid, affect strength and flexibility differently—experiment to find what works best for your project.
Retraction Settings: Avoiding Stringing and Blobs
Retraction settings for 3D prints control how much filament is pulled back when the printer moves between areas without printing. Proper retraction reduces stringing (those unwanted wispy strings) and blobs on your print. Adjusting retraction distance and speed is a key part of 3D printer tuning basics.
With these fundamentals, you’re ready to tackle your next print with confidence!


Comments